This article may include references and links to products and services from one or more of our advertisers. We may be paid compensation when you click on links to those products and/or services. As an Amazon Associate, we earn from qualifying purchases.
This article contains affiliate links, which means that if you click on one of the product links and make a purchase, we may receive a commission. Please note that this article is for informational purposes only and should not be construed as financial or investment advice. We do not endorse any specific product or service mentioned in this article
How to Remove Laptop Stickers without damaging them?
Stickers can present your brand and provide views of past times. When it occurs time to eliminate a sticker from a laptop skin, many erasing methods are tried to damage it.
Stickers can present your brand and provide views of past times. When it occurs time to eliminate a sticker from a laptop skin, many erasing methods are tried to damage it.
Stickers can be torn, whether you are removing a brand’s Sticker or one you used to beautify your laptop. Initially, slowly peel a sticker with your nail, a hard card, or a thin plastic putty material.
Sometimes liquids break apart, and harsh chemicals affect the color of stickers. Moreover, you can apply heat by a hairdryer to the Sticker, which makes removal easy. By warm air, the pressure-sensitive adhesive is easily removed. You do not need a high-quality hairdryer to produce heat and warm air. I am using a normal Ions Hair Blow Dryer that I bought from Amazon.
As a result, if the sticky residue is left behind, wipe it away with a microfiber cloth and water. If water doesn’t work, try rubbing alcohol, diluted acid like vinegar, or a soft scrub pad.
Here are different methods explained in this article, so you can learn how to remove laptop stickers without damaging them. In this article, we will explain the essential strategies to remove laptop stickers without damaging them.
However, there are different methods to remove a sticker safely from any laptop. But here we are discussing some practical and accessible ways.
Laptop stickers can be easily removed using a sharp plastic knife, bank card, or even fingernails. Once you remove the Sticker, use a soft microfiber cloth by dipping it in water and rubbing on the Sticker’s leftovers. Many people use vinegar instead of water, but it should be diluted. You can use a scrub to remove the Sticker from your laptop.
Is there a sticker on your laptop screen? Do you want to remove it? Then don’t use a sharp knife or any hard tool. You can use a hairdryer for 20-30 seconds to remove it safely with warm air easily.
Required Tools for Removing Laptop Stickers without Damaging Them
I have compiled a list of the required tools that you will need to remove the laptop stickers. Most people do not know “how to remove laptop stickers without damaging them”. So they do not try to remove them because it may damage the laptop. You can use the following tools to remove stickers safely.
1. Sharp plastic knife
- PLAYFUL DESIGNS, REAL TOOLS - This knife features youthful and bright colors that children will find stimulating, while providing real-world tools to cook with; tested and approved by kids for ease of use
- BUILD A FOUNDATION FOR LIFE SKILLS - Curious Chef products encourage critical thinking, problem-solving, social and fine motor skills all while having fun; these contribute to your kids success to help them reach further faster
- KID-FRIENDLY DESIGN - Nylon serrated blade with blunt tip; cuts tough fruits and vegetables but is much safer on skin than metal blades; ergonomic handles with soft button grips provide your little chef a firm hold
- INCLUDES - This medium-sized knife is made in the smaller dimensions of a child; lets your excited little chef help with the cutting while keeping hands and fingers safe; Dimensions: 9.8″ L x 1.8″ W x 0.5″ H; Ages 4+
- THE CURIOUS CHEF DIFFERENCE - Our products are real utensils and cooking tools uniquely designed for kids to express their creativity in the kitchen; Each product is a result of years of testing and research to ensure functionality and safety
2. Credit or Debit Cards
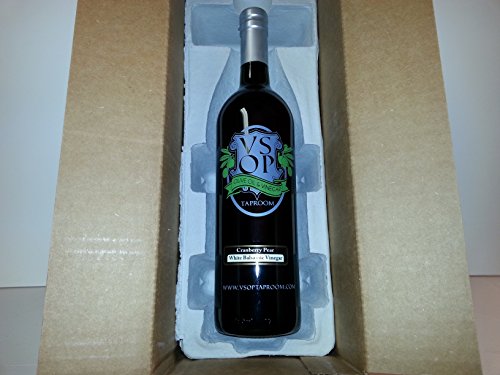
3. Vinegar (Diluted)
- Made in Modena, Italy according to the age old Solera Method
- Progressively aged through a battery of seven barrels (cherry, oak, ash, chestnut, mulberry, juniper, acacia) of successively smaller sizes
- Cooked grape must from Trebbiano & Lambrusco grapes
- 5.5% Acidity, crisp, clean, bright taste. Naturally infused with cranberries and pear.
- NO sugars, colorings, or thickeners ad
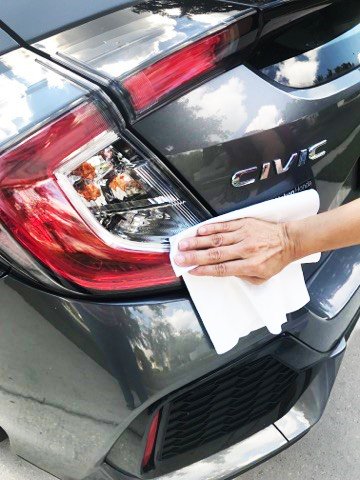
4. Soft Microfiber Cloth
- CLEANS WITH JUST WATER No harmful or toxic chemicals needed. Made with billions of tiny wedge-shaped little grabbers that scoop up and trap tiny dirt particles and bacteria like a magnet leaving behind only a clean surface. Its tough on dirt and gentle on your surfaces.
- STREAK FREE & LINT FREE Traps moisture and dries to a perfectly streak free finish. Just dampen it ring it out completely and wipe the surface. After a few seconds you will see the streaks disappear. Works great on hard to clean surfaces like Stainless Steel, glass and chrome. The easiest way to clean mirrors we promise.
- SAVE MONEY replace paper towels and expensive chemical cleaners. Keep one in the shower, one in the kitchen one in the garage and one in your car. When its dirty just wash, rinse and reuse. Available in 3, 6 and 10 pack. The more you buy the more you save!
- GUARANTEED TO LAST With proper care we guarantee your cloth with last for 5 years. In fact weve been using the same cloth going on 11 years and counting and it still works great. Wash with dishwashing liquid and hot water or in the washing machine. DO NOT USE FABRIC SOFTENER and let air dry.
- ENVIRONMENTALLY SAFE & ECO FRIENDLY Go Green and start cleaning chemical free, picks up 99.8% of all surface particles. You will be delighted by the naturally clean feeli
5. Scrub Pad
6. Hairdryer
- Professional hair dryer with long-life AC motor, reducing drying time and noise.
- Negative ion function which makes hair beautiful with less damdage.
- 2 speed (HIGH/LOW) and 3 heat (HOT/COOL/WARM) settings for complete drying and styling with flexibility.
- Direct ION Technology produces negative ions to help condition and soften hair while reducing frizz,add shine,providing silky smooth manageable hair gorgeous results.
- Passed ETL and ROHS centifcation,1 year replacement and 3 years warran
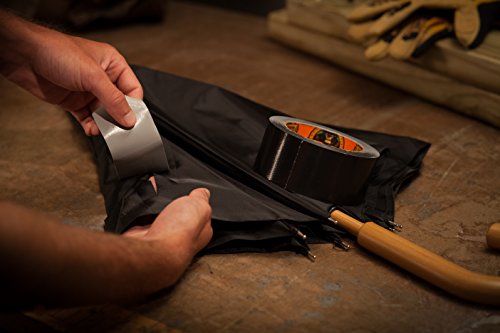
7. Ducting tape
- Heavy duty and double thick, Gorilla Tape offers over-the top results; It’slike duct tape on steroids
- Great for indoor or outdoor use and made to stick to rough, uneven, unforgiving surfaces like wood, stone, stucco, plaster, brick and more
- Double-Thick Adhesive; Grips smooth, rough and uneven surfaces
- Tough, Reinforced Backing; The tight weave contributes to the heft, but Gorilla Tape can still be ripped by hand
- Rugged, Weather-Resistant Shell; Withstands moisture, UV rays and temperature extre
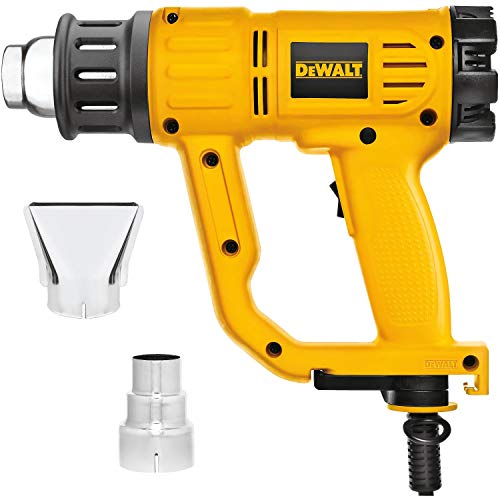
8. Heat gun
- Variable temperature control allows for adjustment of the heat settings
- Built-in overload protection shuts the heating element down and prevents burn up
- Built-in hang ring adds a convenient storage feature
- Built-in innovative kickstand support provides greater stability and prevents tip over
- Cord Protector keeps the cord from tearing away from the housing Ergonomic comfort grip provides greater comfort for long hours of
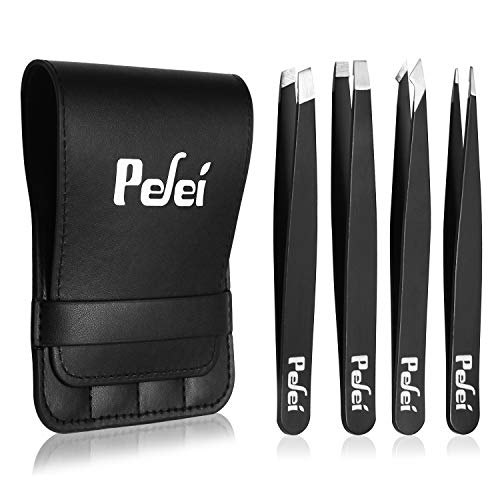
9. Tweezer
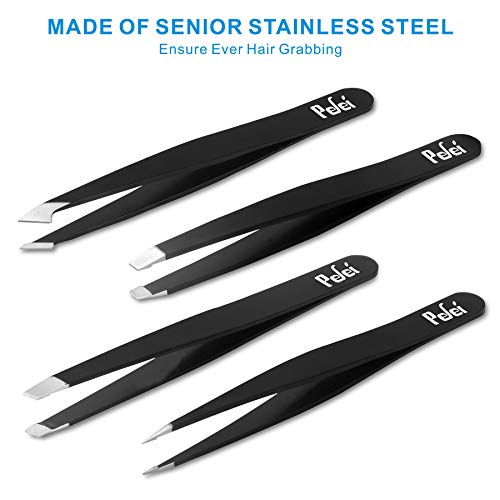
- MULTI - FUNCTION - 4 in 1 Set, This set contains a pair of classic, slant, pointed, and pointed slant tweezers. Perfect choice to handle a variety of jobs.
- NO SKIN ALLERGY - This durable tweezers set is made of #420 Stainless Steel, this material is widely used for surgical tools to assure of chemical free and no allergy.
- IDEAL FOR TRAVEL OR GIFT - It comes complete in a stylish case that’s perfect for gifting or travel.
- PERFECTLY CALIBRATED TENSION - Designed to remove ingrown hairs and splinters with ease.
- 100% SATISFACTION GUARANTEE - Every purchase comes with a 60-Day Money Back WARRANTY and superior after-sales customer service provided by Pef
Step-by-Step Guide for Removing Laptop Stickers Safely
If you have checked all the above lists, now it’s time to move forward to remove the stickers. Follow this step-by-step guide to do the process done:
1. By scraping off the Sticker
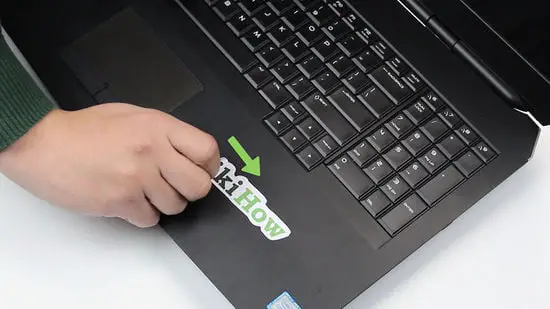
Firstly, Slide-tape off the Sticker if it has not been more than a year. If the Sticker is new, you can peel it off without leaving a sticky residue behind.
However, after a few minutes, the glue backing starts separating from the Sticker, which makes Sticker harder to peel cleanly and leaves some sticky residue behind.
If your Sticker is placed for more than a year or 2, you may have to use a liquid like water, alcohol, or another cleaning material. There are different residue adhesive removers available on Amazon that you can buy online at a low price.
- Developed for professionals and now available for home use.
- Tough enough for any job, yet safe enough for regular use in the home or office.
- Pleasant smelling with no toxic fumes.
- Economically priced. A little goes a long way!
- Award Winning - Recipient of US Glass Magazines Readers Choice Product of the Year Award for Glass Restoration.
Moreover, start peeling at one of the corners of the Sticker. Use your nails to peel from a corner until you have removed it from the laptop’s surface. If your nails are trimmed, use a thin plastic cutter or a debit card.
Start by pulling the Sticker very slowly from the peeled corner. As you pull the lifted corner, try to peel at that point where the Sticker sticks the laptop with your nail to help keep the Sticker.
Peel slowly until you have lifted the Sticker off from the laptop. Do not peel fast and pull the lifted edge too hard. It could either tear the Sticker or increase the certainty of leaving behind the sticky residue.
If the Sticker peels off cleanly, you did it well! If it left behind some sticky adhesive, don’t worry. There are many tricks for getting rid of the sticky residue by how to remove the laptop stickers without damaging them.
2. By wiping off adhesive material
Initially, power off and unplug the laptop. If you haven’t already done it now, close down and unplug it earlier than removing the adhesive.
If you may eliminate the battery, it’s additionally a fantastic idea to obtain this on every occasion you smooth your laptop.
You will be using some water or some other liquid to clean your laptop quickly, and also, you don’t need to take risks, unfortunately, with yourself or destroy the laptop.
How to remove laptop stickers without damaging them
Again, try to rub away the sticky adhesive with a damp, lint-free fabric. Then Soak a clean microfiber fabric with warm water, then wring it out properly. Rub the gunky spot with hard and tight, circular motions and firm pressure.
With a bit of elbow grease, you must be able to scrub away the residue in a few minutes. Take care now not to get moisture into the sensitive area within the laptop. Such damage due to drinks typically isn’t protected by way of warranties.
Add a drop of ordinary dish cleaning soap to the cloth, if you found it necessary. If the location still feels sticky or gunky, run the fabric beneath hot water again and squeeze a drop of dish soap onto that spot.
Rub the nook a piece together with your fingertips to lather the soap, then wipe down the sticky material. When you’re done with it, use the non-soapy elements of the wet fabric to wipe away anything found on the spot. Be careful to pour dish soap, spray aerosols, or apply any other cleaning answer directly onto your laptop. Always use a purifier with a fabric.
When you have entirely done, wipe the floor with a dry fabric. Once you’ve finished wiping off the adhesive, dry the surface with every other clean, lint-loose cloth.
Drying off the place prevent further streaking, in particular in case you’ve removed a large sticky label from your laptop’s outer cover.
You might also be interested to know the best things for cleaning laptop screen
3. By using any cussed residue
In fact, using 90% rubbing alcohol if the damp cloth didn’t do the trick. To do away with stubborn adhesive residue, dip a corner of the microfiber cloth in rubbing alcohol. Once more, use tight, round motions to scrub off the sticky adhesive.
Hold an alcohol-soaked material over the area if wiping it failed to work. If glue residue remains sticking around, dip your fabric in alcohol or vinegar diluted with water again. Place the cloth onto the sticky region, and permit it to take a seat for 2 to a few mins.
4. How to remove laptop stickers
That must dissolve any ultimate stubborn gunk. Rubbing alcohol shouldn’t discolor or harm the plastic or aluminum used for laptop casings. However, if you want to live on the secure facet, take a look at the region in each 30 to 60 seconds.
Slide tape over the caught-on residue if you did not have success with alcohol. Cut off a 2 to 3-inch piece of duct tape.
Fold over a small part of an end to make a non-sticky handle, and then rub the tape’s sticky floor over the adhesive residue. If there’s any stickiness left over after using the duct tape, wipe it away with a fabric dipped in hot water or rubbing alcohol.
How to remove laptop stickers without damaging them
Try the usage of a mildly abrasive scrub pad if the material didn’t work. Using light stress, wipe the sticky spot with a nylon or melamine foam scrub pad, including a Mr. Clean Magic Eraser.
Soak this magic eraser with water first and give it a pass. If water by myself doesn’t take away the gunk, strive to add a drop of dish cleaning soap or dab the pad with rubbing alcohol. Rub the sticky place with the scrub pad lightly. Nylon and melamine foam scrub pads are mildly abrasive, so be cautious not to scratch the floor of your laptop.
Moreover, Use a hot air blow dryer to loosen the gunk if all else fails. A hot air dryer can melt and unfasten glue.
However, it must be one of the remaining techniques you attempt. Please set it to low or medium, and purpose it on the gunk for approximately 30 seconds. Then see if you could dispose of the last residue using a cloth, putty knife, or credit scorecard.
Even though your laptop is off and unplugged, you don’t need to overheat. Stick to a low or medium setting and try to use it in 30-second intervals to keep away from getting your laptop too hot.
Conclusion
These are some practical and easy methods that I explained above. Our regular visitor asked the question, so I explained it in detail. If you have any queries related to removing laptop stickers without damaging them or something else, just post them below in the comment box. It will be our great pleasure to assist you.


